
Most RV sewer smell comes from sewer gas sneaking in through a dry P-trap, a stuck air admittance valve, a blocked roof vent, or leftover waste film in the black tank. Start with the fast checks: run water in every drain, look at the toilet bowl water level and seal, crack a window, and sniff inside the sink cabinets. If the odor is still there after that, work through the diagnostic checklist below.
TL;DR:
- Most RV sewer odors originate from dry traps, stuck air admittance valves, or blocked roof vents, which can often be identified by room-specific smells.
- Running water in all drains and inspecting the toilet seal, vent caps, and air admittance valves helps quickly pinpoint and fix the primary causes of odor.
- Proper black and gray tank maintenance, including timely dumping, backfilling with water, and enzyme treatments, prevents buildup and lingering odors.
- Persistent odors after DIY fixes indicate leaks or disconnections best evaluated by a professional through pressure testing and detailed system inspection.
Table of Contents
- What Causes That RV Sewer Smell, and How Do You Find It?
- How Do You Fix a P-Trap, AAV, Toilet Seal, or Vent Problem?
- Black and Gray Tank Care That Actually Kills Odor
- Understanding the Parts Behind the Smell
- Why Does My RV Smell Like Sewage Only While Driving or With Hot Water?
- A Simple Routine That Keeps the Smell From Coming Back
- When Should You Call a Professional for RV Sewer Smell?
- How Good Hookups and Maintenance Prevent Sewer Odor at the Source
- Why Troubleshooting-First Beats Guessing
- Sources
What Causes That RV Sewer Smell, and How Do You Find It?
Track the smell room by room before you touch a single tool. Where it's strongest tells you almost everything: bathroom-only points to the toilet seal or the black tank vent, kitchen-sink-only points to a dry trap or a bad AAV under that cabinet, and a whole-rig smell after a drive points to pressure or a sloshed-out trap somewhere in the system.
Here's the order that actually narrows things down fast:
- Run water in every drain for 30 to 60 seconds. A dry P-trap is one of the most common culprits, and refilling it usually clears hydrogen sulfide odor within a few minutes if that's the source.
- Check the toilet bowl. Low or absent water in the bowl means a bad seal between the toilet base and the floor flange, which lets tank gas straight into the bathroom.
- Rock the toilet gently side to side. Any wobble means the wax or foam ring underneath has failed or the mounting bolts have loosened.
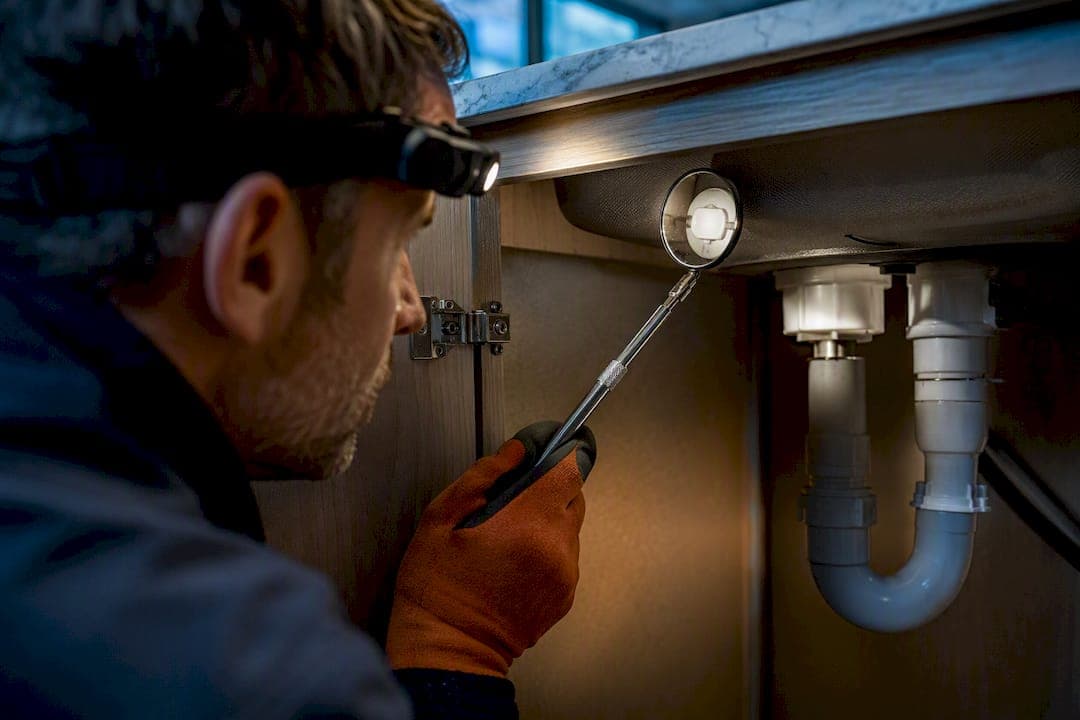
- Open every sink and vanity cabinet and sniff immediately. A sharp burst of odor right when you open the door usually means the air admittance valve (AAV) inside is stuck open.
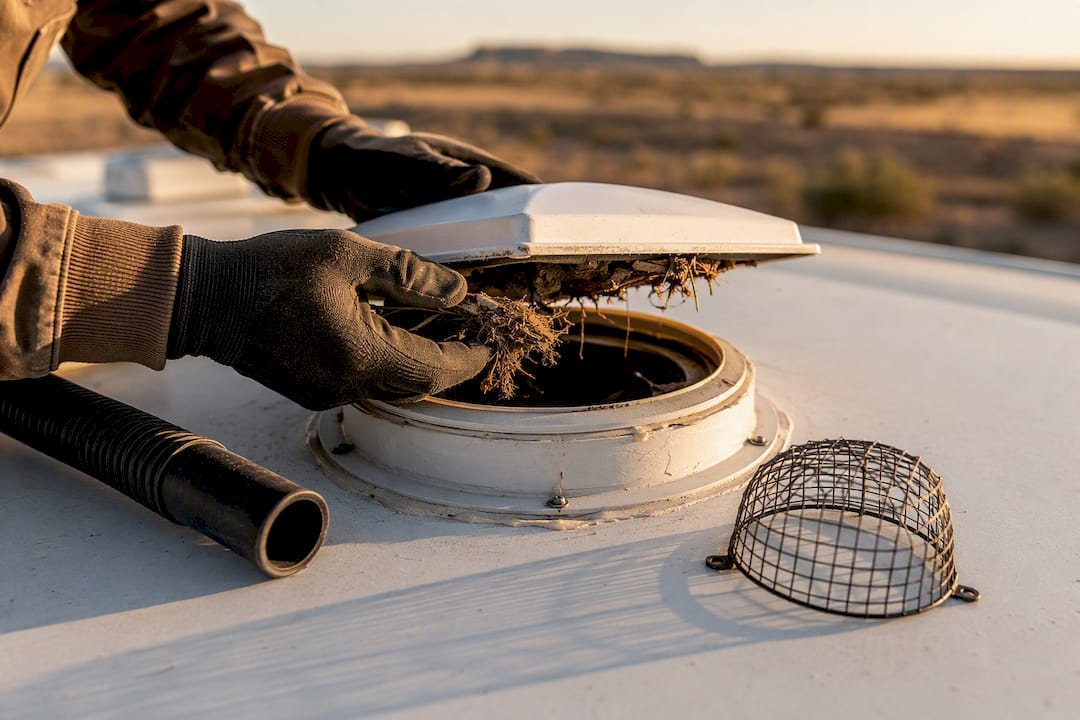
- Look up at the roof vent caps from outside, or check the vent pipe route from inside a cabinet if it's accessible. Bird nests, leaves, and wasp nests are common blockers, and a blocked roof vent is a documented cause of trapped sewer gas backing up into the cabin.
Slow, gurgling drains paired with the smell often mean the opposite AAV problem: the valve is stuck closed instead of open, which traps air and pulls gas back through the trap instead of releasing it outside.
Pro Tip: Keep a $10 inspection mirror and a headlamp in your maintenance bin. Half of AAV and vent problems are visible in ten seconds once you can actually see up into the cabinet or down the vent pipe, and most people never look because they don't have the right angle.
How Do You Fix a P-Trap, AAV, Toilet Seal, or Vent Problem?
Each fix below takes fifteen minutes to an hour and needs no more than basic hand tools, except the toilet reseal, which is messier but still a weekend-driveway job.
Fixing a dry P-trap. Run water into the affected drain until you hear it settle, then wait five minutes and smell again. If the smell returns within a day or two even with normal use, the trap is likely losing water to evaporation faster than usual, which is common in dry climates or rigs sitting unused for a week or more. A waterless trap seal device, or a HepvO-style valve that replaces the water seal with a mechanical one, solves this permanently for drains that dry out between uses.
Replacing a bad AAV. Symptoms tell you which failure mode you're dealing with: a stuck-open valve lets odor pour into the cabinet, while a stuck-closed valve causes slow draining and gurgling. Either way, the fix is the same. Shut off water to that fixture if there's a supply line nearby, unscrew the old AAV counterclockwise from its fitting (most thread on with no adhesive), and thread on the replacement clockwise until snug by hand. Run water afterward to confirm smooth drainage with no gurgle and no odor burst.
- Locate the AAV, usually a small white or gray cap-shaped fitting under the sink where the drain pipe rises before turning downward.
- Twist it off by hand or with a strap wrench if it's corroded on.
- Thread the new AAV on clockwise, snug but not overtightened, since these fittings are plastic and crack under too much torque.
- Run water and listen for normal drainage, then check for smell after 24 hours of use.
Resealing the toilet base. If rocking confirmed a bad seal, shut off the water supply, disconnect the water line, and unbolt the toilet from the floor flange. Scrape off the old wax or foam ring completely, since any leftover material prevents a clean seal. Set a new wax ring or, better for RVs because it handles vibration well, a foam gasket ring, then lower the toilet straight down without twisting it. Rebolt evenly in a crisscross pattern and test for rocking before reconnecting water.
Clearing and upgrading roof vents. Climb up carefully, remove debris by hand or with a shop vac hose, and confirm the vent pipe below isn't cracked or disconnected where it meets the roof. A wire mesh or debris-guard vent cap stops birds and insects from rebuilding a blockage, which matters most for rigs that sit in storage for weeks at a time.
Pro Tip: If you've done all four fixes and the smell is still there, stop guessing. It's likely a leak or a disconnection you can't see from inside the rig, and that's a job for a technician with a pressure test kit.
Black and Gray Tank Care That Actually Kills Odor
Dump the black tank first, always, then the gray tank right after. The gray water rinses residual waste out of the hose and valve on its way out, which keeps your sewer connection cleaner between dumps. After dumping, add 2 to 3 gallons of fresh water back into the black tank. Backfilling keeps enough liquid in the tank to carry solids out cleanly the next time you dump, instead of letting them dry and stick to the tank walls.
Timing matters more than most owners think. Dumping too early, before the tank is even a quarter full, wastes the flush water that would otherwise help move waste out. The better rule is to wait until the tank is reasonably full, which gives you enough liquid volume to actually clear solids during the dump.
Chemical selection matters too. Enzyme and bacterial treatments break waste down biologically instead of masking it, and industry guidance now favors enzyme-based products over formaldehyde-based chemical deodorizers, since formaldehyde sterilizes rather than digests and can be harsh on septic systems at dump stations.
For tanks with a stubborn odor that survives normal dumping and enzyme treatment, three deeper methods work:
- The GEO method, a hot water and dish detergent soak that breaks down waxy buildup ordinary rinsing misses.
- A tank rinser wand run through the toilet, which blasts high-pressure water directly at tank walls and sensor probes.
- Ice and water agitation, where you add a bag of ice and a few gallons of water before a drive, letting the ice tumble around and scrape sensor probes and tank walls clean.
One diagnostic trick separates a tank problem from a pathway problem: dump and thoroughly rinse the black tank, then seal it and smell everywhere else in the RV over the next 24 hours. If the smell is gone, it was tank-derived. If it's still there, you're chasing a trap, valve, or vent issue instead.
Understanding the Parts Behind the Smell
P-traps hold a small column of water in a U-shaped bend that physically blocks sewer gas from rising back through the drain. That water disappears three ways: slow evaporation during storage, sloshing out while driving over rough roads, or getting siphoned out by a strong drain elsewhere in the system pulling air (and water) with it.
Air admittance valves are one-way mechanical valves that let air into the drain system to equalize pressure without needing a vent pipe running to every fixture. They fail in two directions. Stuck open, they let sewer gas flow freely into the cabin. Stuck closed, they choke off airflow and cause slow, gurgling drains. Either failure mode is a cheap fix, and AAVs are common enough failure points that replacing a suspect one early prevents repeated odor problems down the road.
Vent stacks run from the black tank up through the roof, letting sewer gas escape outside instead of backing up into fixtures. Bird nests, leaves, and insect nests are the most common blockers, and a stack that's cracked or knocked loose where it meets the roof can leak gas into the attic space above the ceiling. If odor seems to come from the vents themselves rather than any fixture, check the ceiling and attic penetration near the AC return, since a leak there can route sewer gas straight into the HVAC airflow.
Water heater anode rods, usually magnesium, react with sulfur naturally present in some water supplies to produce hydrogen sulfide gas, the classic rotten-egg smell. This only shows up in hot water, never cold, which makes it one of the easier causes to isolate.
Why Does My RV Smell Like Sewage Only While Driving or With Hot Water?
Driving shakes water right out of your P-traps. Every pothole and highway expansion joint sloshes trap water back and forth until enough of it splashes past the bend and drains away, leaving the gas pathway wide open. Add to that the pressure changes happening around a moving RV, and cabin pressure dropping relative to the underbody can actually pull sewer gas through weak seals and loose roof penetrations while you're on the highway.
Here's how to tell driving-related odor from a tank problem the moment you park:
- Smell immediately on arrival, before doing anything else. If it's strong right when you stop but fades within 20 to 30 minutes, that points to sloshed traps and pressure effects, not a tank problem.
- Run water in every drain right after parking. If the smell disappears once traps refill, you've confirmed the diagnosis and you're done.
- If it lingers past 30 minutes, dump and rinse the black tank to rule out residue as a separate contributing cause.
For a smell that only shows up when you run hot water and never with cold, the anode rod is almost always the reason. Drain and flush the water heater completely, then swap the magnesium anode for an aluminum or zinc version, which doesn't produce the same sulfur reaction with sulfate-heavy water supplies. Always check your water heater's manual before touching the anode, since tank pressure needs to be released safely first.
Pro Tip: Before a long travel day, run water into every drain one last time and top off the toilet bowl. It takes thirty seconds and it's the single easiest way to avoid walking into a smelly rig at your next stop.
A Simple Routine That Keeps the Smell From Coming Back
Prevention beats troubleshooting every time, and it takes almost no extra effort once it's a habit.
- Before travel: top off every trap, add 2 to 3 gallons of water to the black tank, and dose enzyme treatment before a long drive to reduce solids building up on the tank walls while you're on the move.
- Dump cadence: wait until tanks hit two-thirds to three-quarters full, rinse thoroughly, and backfill with fresh water after every dump.
- Before storage: refill or seal every trap, run an enzyme soak through the black tank, and cover roof vents to keep nesting insects and birds out over the off-season.
- Every trip, quick pass: glance at the roof vents, check toilet bowl water, and run water through every drain before you roll out.
| Timing | Action | Why it matters |
|---|---|---|
| Before travel | Fill traps, add water and enzyme dose to black tank | Stops trap loss and solid buildup during driving |
| At dump | Dump black first, then gray, backfill 2 to 3 gallons | Keeps tank liquid enough to clear solids next time |
| Before storage | Refill traps, enzyme soak, cover vents | Prevents dry-out and pest nesting during downtime |
| Every trip | Check vents, toilet water, run drains | Catches small problems before they become smells |
When Should You Call a Professional for RV Sewer Smell?
Call a technician if the smell persists after working through every DIY fix, if you spot actual leaking rather than just odor, or if you suspect a vent stack has come loose behind a wall or ceiling panel you can't access yourself.
A qualified RV service shop will typically:
- Replace the toilet base seal properly if wax or foam gaskets keep failing.
- Run a vent stack integrity check to confirm nothing is cracked or disconnected above the roofline.
- Inspect and pressure-test the tank and drainage system for hidden leaks.
- Check the attic and HVAC return path if odor seems to be traveling through ceiling vents.
Ask the shop to document exactly what they tested and what they fixed, and get a written estimate before repairs begin so there's no surprise on the invoice.
How Good Hookups and Maintenance Prevent Sewer Odor at the Source
A lot of sewer smell complaints trace back to the site connection, not the rig itself. Loose sewer hose fittings, missing donut seals, or a site sewer line that's never inspected create the exact conditions this guide walks you through fixing. At Mesquite Oasis, every one of the 241 full-hookup RV sites gets routine maintenance checks on sewer connections, so guests aren't fighting a bad hookup on top of their own rig's plumbing.
Full hookups mean your black and gray tanks can be managed on a normal cadence instead of rationed, which is half the battle against odor buildup. If you're weighing a long-term stay in the Permian Basin and want a site where the hookup side of the equation is already handled, Mesquite Oasis's RV sites are built specifically for extended stays, not weekend camping.
Why Troubleshooting-First Beats Guessing
The instinct most RV owners have is to reach for a stronger chemical treatment the moment they smell sewage. That's backwards. Chemicals mask a symptom; they don't fix a dry trap, a stuck AAV, or a corroded anode rod, and plenty of owners have dumped money into deodorizer after deodorizer while the actual cause sat untouched under the sink the whole time.

The conventional advice on this topic undersells how often the smell isn't even coming from the tank at all. Pathway problems, traps, valves, vents, are more common than most owners assume, and they're also the cheapest and fastest to fix. Test those first. Save tank deep-cleaning for after you've ruled out the fifteen-minute fixes.
If you take one thing from this guide, make it the first-ten-minutes test: smell on arrival after driving, run water in every drain, and check the toilet bowl before you touch a single chemical or start pulling tanks apart. That single habit solves more mystery odors than any product on the shelf.
— Karen